
This is a super simple way to retain the data and settings that you create and change on your SQL Server Docker instance. There’s a lot of talk about attaching databases after you recreate your Docker container, but I found that you just have to mount the volumes that SQL Server uses to hold the system and user databases to a folder on your local drive, and if you remove the container you can recreate it and mount the same local drives without losing any data or settings. It’s great and simple!
This article assumes you have a working knowledge of containerization and SQL Server, but may provide enough detail to get you up and running with very little knowledge on either.
So, you will need to install Docker on your local machine and have it set to use Linux containers. Installation and instructions are included on this page: https://hub.docker.com/editions/community/docker-ce-desktop-mac/
Once Docker is installed, you will see this icon in the top left of your Mac desktop screen:
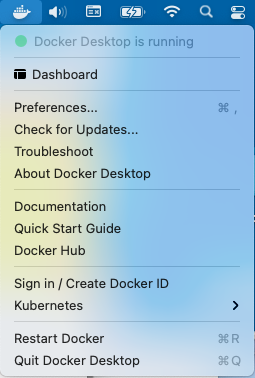
You won’t need to use Docker from this menu. You will be using Terminal on Mac instead.
Let’s set up this SQL Server container!
First things first, set up a folder on your local machine that you will map to your container. I just set up a folder structure here: /Users/josephineb/Documents/Docker/sql2019u because I’m using the latest SQL Server 2019 version on Ubuntu, but you can name your folder whatever you want.
Then you will run the following code at the command line:
docker run -e 'ACCEPT_EULA=Y' -e 'MSSQL_SA_PASSWORD=thisisastrongpassw0rd!' -p 1434:1433 --name sql2019u -v /Users/josephineb/Documents/Docker/sql2019u:/var/opt/mssql/data -v /Users/josephineb/Documents/Docker/sql2019u/secrets:/var/opt/mssql/secrets -d mcr.microsoft.com/mssql/server:2019-latestLet’s do a quick breakdown of what we are doing in the docker run script above:
- docker run – standard way to start a Docker container
- -e – is accepting the license of SQL Server (EULA) and setting the SA password. Important note: make sure you set a strong password otherwise the container will appear to be working correctly, but is not accessible and actually stuck on an error saying the password doesn’t meet requirements.
You can follow the logs of the container by using this command:
docker logs -f <containerid> - -p – I’m setting the port on my host to 1434 because I’m planning to have multiple SQL Server containers, and 1434 will map back to 1433 in the container. When setting these flags, it’s always host then container, so -p hostport:containerport. You can also choose to map the container to the host port 1433, but I already had 1433 in use. If you want to map the container to host 1433, just use 1433:1433 instead.
- –name – names the container. If you leave this off, then it gets a random name.
- -v – maps a volume from the host to the container. In this case, I’m mapping the default container data directory to a folder on my host. I’m also setting the secrets to map to the host so nothing is lost when removing the container. This will ensure any changes you make to the system dbs will be saved and any new dbs you add will also be saved, even if you remove the container, the host folder and it’s data will not go away.
- -d – this builds the container in the background. If you want to see everything it does at the command line, you can leave this off, but it’s a lot of output to the screen telling you every single thing it’s doing as it creates the container.
- mcr.microsoft.com/mssql/server:2019-latest – gets the latest 2019 SQL Server image to use in your container
So, now open your command line, if you haven’t done so already, and get this container setup!
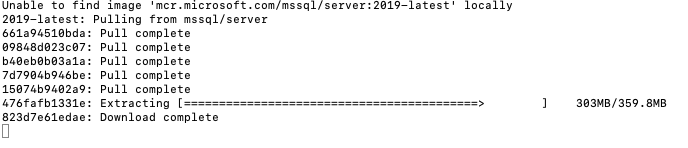
When the code has finished, it will spit out some random GUID:

Note: if this is the first time using this image, it will need to be downloaded so you will see something like the screenshot below with the downloading of the image, but once it’s downloaded once, it won’t have to download it again (unless you purposefully remove the image in the future).
To see the status of your container, run docker ps at the command line. This will display a list of your running containers and their status:

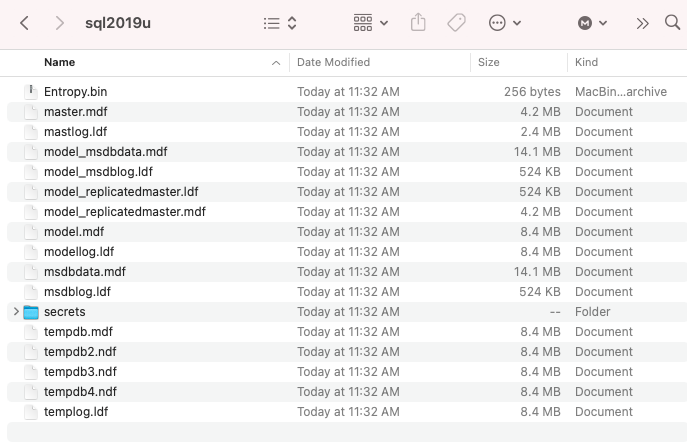
If you look in your host folder, it won’t be empty, and it contains the secrets and data folders that are mapped to your container. The data folder has your system dbs (and will also hold your user dbs once you create some) and the secrets folder contains the machine-key file.
Connecting to your Docker container via SQL client tool
I’m using dbeaver since you can’t install SSMS on Mac. https://dbeaver.io/download/
Once you install DBeaver, open it and choose to add a new database connection, choosing SQL Server:

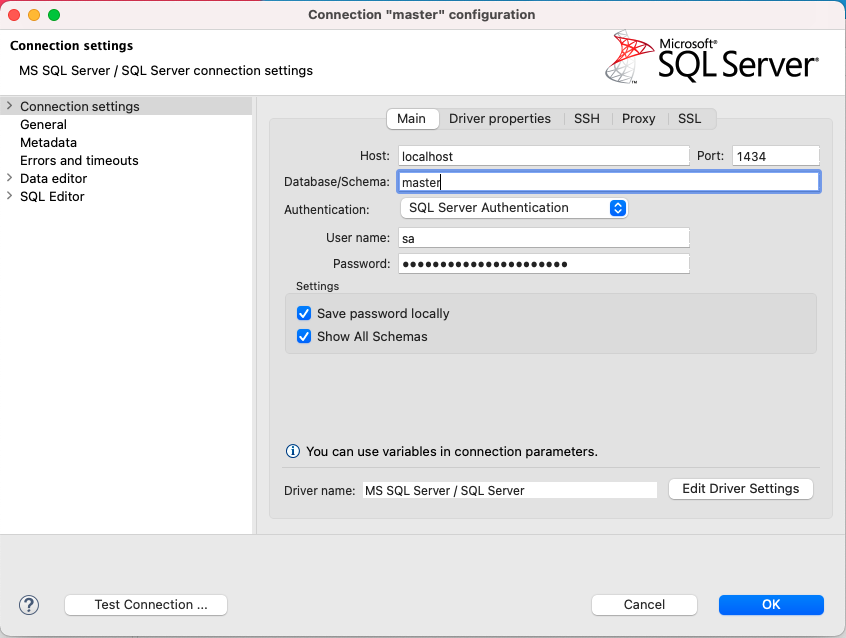
This will bring you to a screen to enter the information for the Docker container you just created:
If this is the first time connecting to SQL Server in DBeaver you will be prompted to download a driver. Click Download:

After the driver is installed, you will see your database connection in the left side panel:
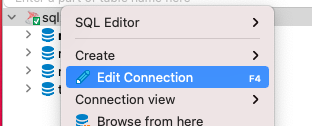
Once you have this setup, let’s give it a more identifying name than master by right-clicking on the top master, and choosing Edit Connection:
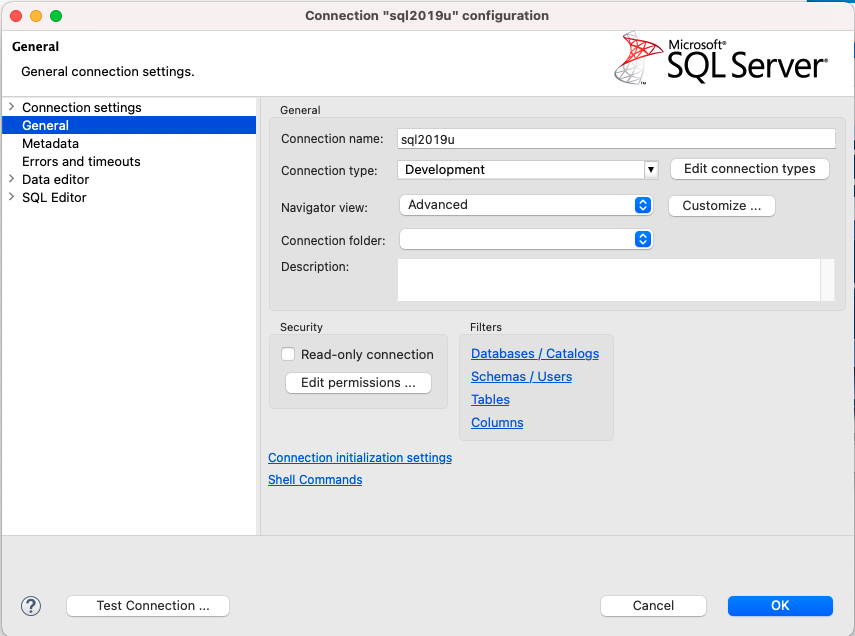
Then click General, and rename the Connection name to sql2019u. It appears you are unable to do this if you don’t have the driver installed before you setup your first SQL Server connection in DBeaver.
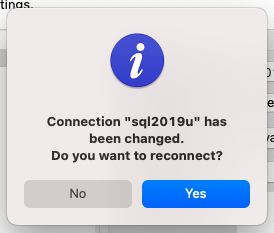
After renaming, click OK, and choose Yes when prompted to reconnect:
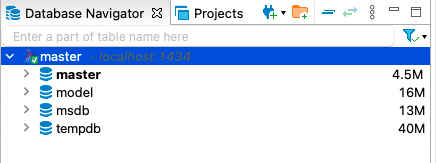
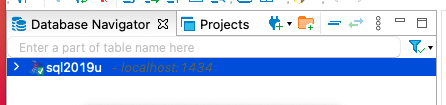
Now, you will see the updated name in your connection list:
How to get your data and settings back if you remove the container
Let’s make a change, so we can see what happens when we remove the container and re-add it. I’m going to add a new database named test. Right-click at the top level of your database connection, in this case, it’s named master.
I’m going to run this script to create a database: CREATE DATABASE testing;
When I refresh DBeaver, I see the testing db now:

Let’s stop and remove the container:
To stop the container at command line: docker stop sql2019u
To remove the container at command line: docker rm sql2019u
You can double-check the container is gone by running docker ps at the command line, but it’s not necessary.
Next, you can run the same docker run command as when you set it up the first time (as long as you didn’t remove the folder that lives on your host computer and I don’t think you would have done that 🙂 and I know that Docker didn’t do that with the container removal):
docker run -e 'ACCEPT_EULA=Y' -e 'MSSQL_SA_PASSWORD=thisisastrongpassw0rd!' -p 1434:1433 --name sql2019u -v /Users/josephineb/Documents/Docker/sql2019u:/var/opt/mssql/data -v /Users/josephineb/Documents/Docker/sql2019u/secrets:/var/opt/mssql/secrets -d mcr.microsoft.com/mssql/server:2019-latestOnce it’s done, then connect to DBeaver again and you will see the new database named testing is there as expected without having to set it up again! So nice, no additional work needed and it remembers what you did as long as you map the volumes!
If you want to use SSMS on Mac, that’s not possible natively and you need Windows to use SSMS, and it’s hard to get Docker to connect to something like a VirtualBox VM, so maybe more on that later. Most users can do a lot of stuff on Mac with DBeaver and SQL Server, but DBAs probably need SSMS at some point. Another option is Azure Data Studio, which is available on Mac, but again, it doesn’t have the full DBA experience like SSMS. I’m looking into proxmox for VMs and/or VirtualBox for hosting VMs. More on this later.